I need to find somewhere to hike?- Geo tagging: When out on a trail taking a photo of the trail name will upload to the hub, so when other users' tagging can help you find a trial close to your home, work, business, travel, or park.
I want to create my own trail, how can I do that?- By using the nike + in your shoe, the sensor will remember your steps right from the location you started it with the GPS within the app that can be turned on and off. By having your trail created you can have the ability to save that trial or favorite it, so you can go back and do it again. One of the things it will also remember for you is the distance you went, map out what you saw if you took photos or notes.
- If you don't have a nike +, you can just turn on the GPS and it will locate you and you can press start to begin your journey. It too would have your ability to save it as you would if you had the nike +.
What type of equipment or gear will I need?- By choosing within the app, the type of hike you are going on (ie, forest, desert, etc) and by knowing what the weather would be like. The app will then have a list of what type of equipment is necessary to have on your adventure, and will provide an image just in case you know for sure what the item is.
What type of tree or leaf is this?- By using a shazzam feature, taking a photo of what you see will identify it, measure it, and tell you interesting facts about it. You can also save this information so it can go into you online notebook as a memory.
What type of track is that?- By using the shazzam feature, taking a photo of the track will give you information as to what it looks like, how fresh the track is, what type of animal it was, what the animal likes to eat, migrates, and any random fact you should know. Saving this information will store all the tracks you have seen and tell you how many of the same animal tracking you have found.
I want to remember my day out?- You can photograph yourself adventure, and when do so, the app will put in the time, location for you, so all you have to put is information you want to remember. This would also be placed in your notebook of memories.
Within this season, what animals would I might run into?- Using the weather indicator, it will show you the migration path for multiple animals within the area and based on color it will tell you what animals are out and about and where to aware to not to go depending on animal.
- When you get closer to an animal that is dangerous, the app will send you alert that will be silent enough, so the animal doesn't react. with this alert, you have the ability to go to your noise maker related to that animal and use to scare them off.
How do I know that I'm safe?- Based on where you are at, your mobile device will pinpoint your location and notify you of weather charts and elemental forecasts that could be potentially hazardous. Also when photo or video/geotagging spots your tag will upload to our servers and search for identical safety hazards that previous users have posted, and will alert you.
- Also you can download onto your mobile device or hub profile, our general safety guide to hiking to check whenever you have doubts. This guide includes live feed weather forecasts and survival techniques that will prevent any harm to you.
What happens if I don't have a smart phone and need other means?-With your mobile device, if you text in the number given by the hub, it put your phone number in the system and give you the most important features like alerts to you by text message.

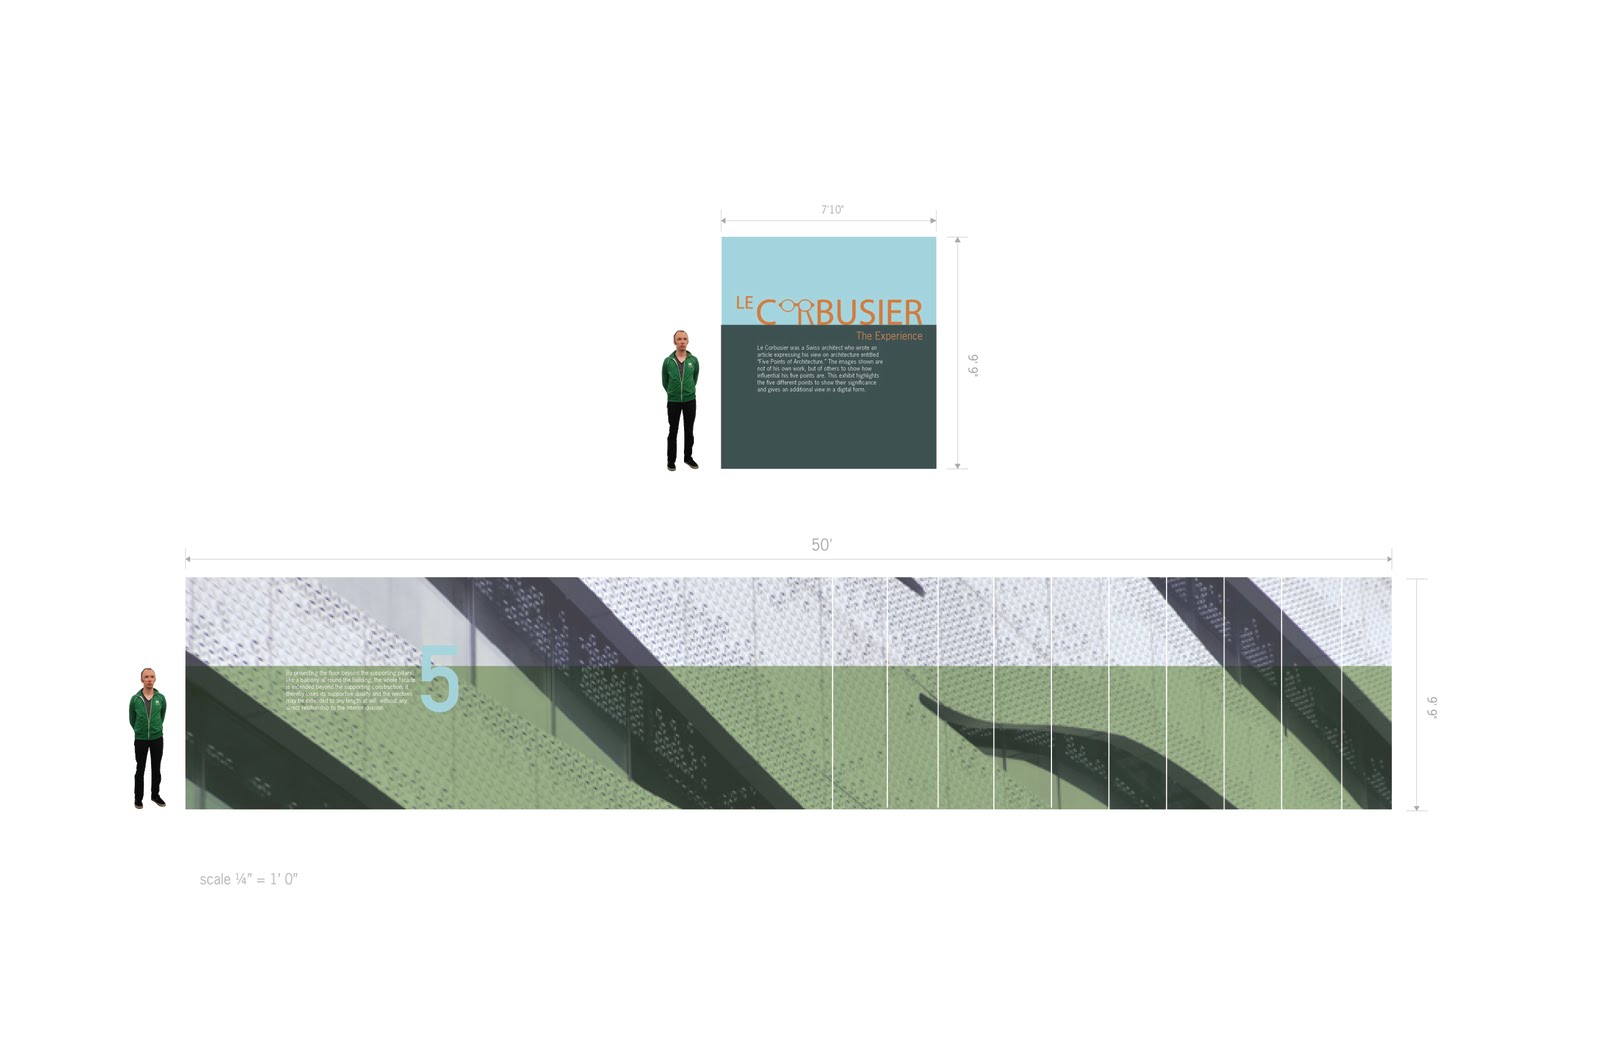
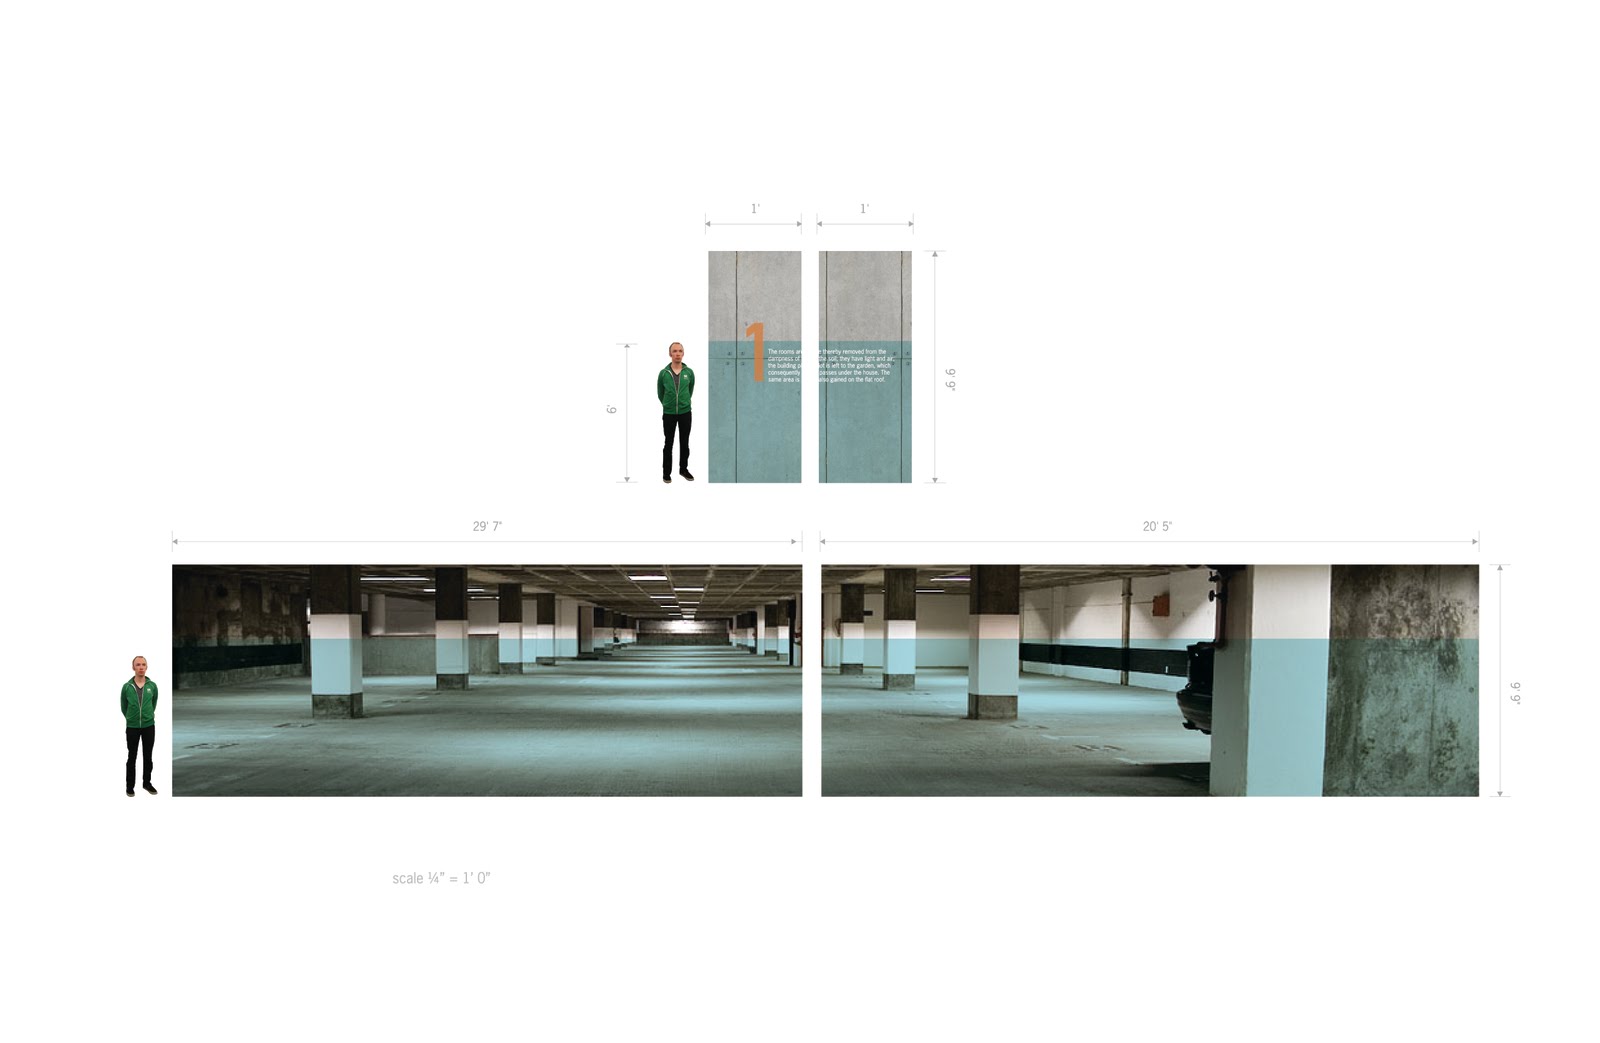
 Welcome to the Experience. The logotype was created from an iconic image of the man himself, using his glasses. “The Experience” was chosen as the title because it is all about the adventure of the 5 points of architecture. Within the Experience, the images shown are not of his own work, but of others to show how influential his five points are. This exhibit highlights the five different points to show their significance and gives an additional view in a digital form. The style of the Experience is proven to have inviting colors and typography explaining what they are seeing to then reinforce the space with several images in the real world. The image treatment is to have a multiplies bar of color that is close to the 6 foot person, which allows the the viewer to easily read the descriptions. Having the complimenting colors, like orange and green, allows for the number to stand out to viewer upon accessing the application on the itouch or iphone.